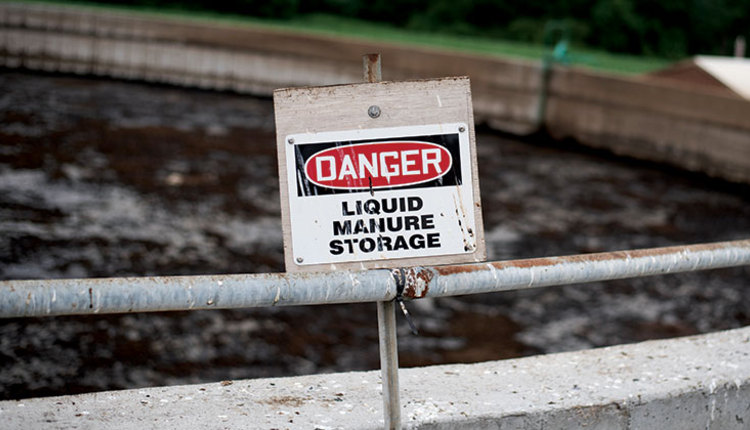
Taking samples is an essential step to appropriately apply manure to fields. However, getting an accurate sample of nutrients across livestock systems and differing storages can be challenging.
What follows are guidelines for the best practices for manure sampling from various storage systems. They come from a Livestock and Poultry Environmental Learning Community webinar titled “Manure sampling considerations in different animal production systems.” It is important to remember that guidelines may vary from state to state, so check with your local regulatory agency.
Working with solids
For stockpiled manure, sampling before spreading or during spreading both have advantages and drawbacks. When you sample prior to spreading, that information can help determine application rates; however, it can be more difficult to get a good representative sample. Additionally, samples taken ahead of time may not reflect what is actually applied to fields. Depending on when the samples are taken and the processing time, there can be additional rainwater and manure added to the pile.
To avoid this, many choose to sample during the application process. This does provide the most accurate sample, but usually the information is received too late to change application rates.
Aaron Nygren, University of Nebraska-Lincoln, suggested, “If you are unable to receive samples back in time for application, you can rely on a five-year average from your farm. Keep in mind, though, that samples can still vary greatly.”
Time of year, animals’ diets, weather, and storage management can all impact nutrient value of manure. Since this is the case, it is imperative to take numerous samples. “The more we do, the better,” Nygren said. It has to be realistic, though. Nygren recommended that you collect 15 or more samples, and that your samples come from at least six inches deep. If your piles are larger, an auger can be helpful to reach various depths.
If samples are being taken from scrapings in an open lot, take at least 20 samples, and avoid collecting too much dirt.
Whether sampling solid or liquid manure, Nygren noted, “Remember how variable the manure can be. That is why proper sampling technique is important.”
Once the samples are collected, they should be mixed well, and an overall sample should be taken quickly. This is particularly important for liquid manure samples, as it avoids the separation of solids that begins almost immediately.
Try to record your method of sampling. “Whatever you do, write down that protocol, because we want to be consistent from year to year,” Nygren said. “If I grab it one way, one year, and a totally different way the next year, differences in the tests are as likely to be from the sampling method as it was from the samples themselves.”
When it comes to manure removed from a barn, Nygren said that sampling location didn’t matter, but consistency of when and where samples were taken year after year was again king.
What is analyzed will differ from state to state and laboratory to laboratory, but Nygren recommended that farmers test for the following:
- Total nitrogen content
- Ammonium nitrogen
- Nitrate-nitrogen
- Phosphorus
- Potassium
- Zinc
- Sulfur
- Soluble salts
- Moisture content
- pH
It’s not easy
With all the factors that influence the physical and chemical makeup of manure and its nutrients, sampling really provides a complete picture of what is being added to your fields. Equally as important is the application rate of manure, which can be impacted by more than the manure itself. Time, labor, facility design, and equipment all play a role in spreading.
Karl Vandevender, University of Arkansas, explained that for these reasons, sampling gives the most “meaningful values.”
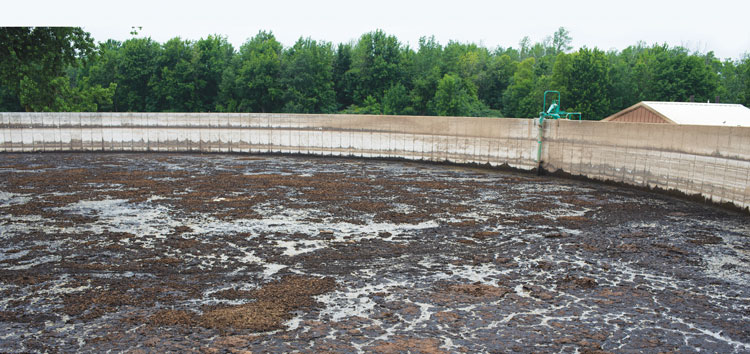
“Nitrogen tends to be very homogeneous in a pond, but phosphorus generally settles on the bottom,” commented Vandevender. “This information can be used to customize spreading from field to field.”
Holding ponds are approximately 8 feet deep, with less than 1% of the solids in the top layer of the pond and as much as 14% at the bottom of the pond. Knowing this can impact how you sample from the pond.
If agitating the pond, try to pull samples from each layer (top, middle, and bottom) and then mix the subsamples together. If the pond isn’t agitated, collect from the zone you’ll be spreading from.
It is recommended to take at least eight samples. Again, collect the overall sample as quickly as possible to avoid separation. When filling the final sample container, make sure to fill it only about half full. An air pocket is needed to help avoid the sample “exploding” during transport, Vandevender said.
Something as simple as a bucket at the end of stick can be used when collecting subsamples. However, Vandevender recommended using a 10-foot long PVC pipe with a stop ball at end of it. This way, you can collect from all layers as you move the pipe down through the pond, filling the inside of the PVC tube.
Vandervender commented on the difficulty of taking manure samples. “Manure varies every time you turn around,” he said. “Perfect sampling is unachievable, but good sampling is a process that can get better over time. Do the best you can and acknowledge there are opportunities for improvements in the future.”
Emptying the lagoon
While holding ponds and lagoons are similar, there are some subtle differences when sampling.
“When irrigating the whole lagoon at one time, be sure to sample all the layers in the lagoon, including all of the water layers and the bottom sludge layer,” recommended Mark Rice, North Carolina State University.
There is a tool called the Sludge Judge that can be used to sample, but similar devices work as well. Infrared sensors can help to measure the density of the sludge layer, or fish finders can be used to identify the active part of the sludge layer.
It not recommended take a boat on to the lagoon, Rice said, to do this testing. “Safety is always a concern,” he explained. There are GPS boats that exist for this task. These devices can record depths, focus on where to sample, make sludge maps, and more. Sludge maps are key as the bottom sludge layer can change drastically from month to month.
When sampling lagoons with covers, Rice noted that very little changes in technique. Most covers have four 24-inch openings. In Rice’s experience, this is sufficient for sampling purposes.
Rice also touched on sampling litter from poultry barns. If sampling before the barn is cleaned out, take samples from a cross section of the barn to get a representative final sample. If collecting after the manure has been removed from the barn and stockpiled, Rice said to refer to the solid manure sampling guidelines mentioned earlier.
And for all manure types, refrigerate samples as soon as possible following collection, Rice advised.
Do it right
There will always be variation between samples, and there will be outlier samples as well. Understanding this is helpful when planning and applying manure.
“The key is to have a good representative sample,” Nygren reiterated. “A sample is only as good as the time you put into getting it.”
This article appeared in the May 2020 issue of Journal of Nutrient Management on pages 18 and 19.
Not a subscriber? Click to get the print magazine.